
Stitch Perfect: The Art and Science of Embroidery Digitizing
Introduction
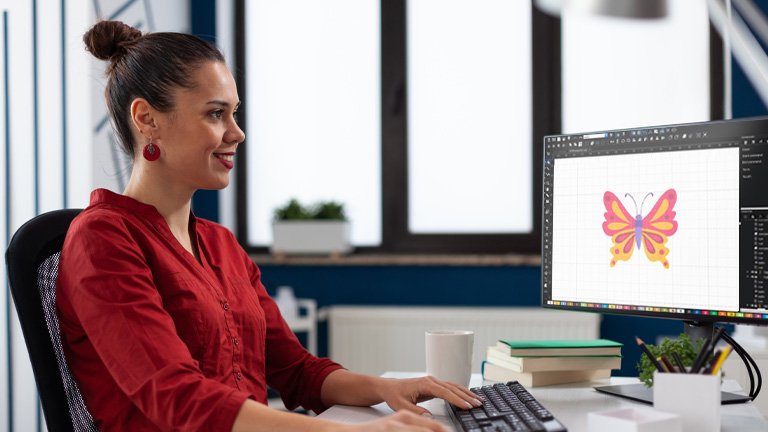
That stunning design on your screen looks perfect, but the stitched version comes out distorted, puckered, or missing details. This common frustration separates casual embroiderers from professionals—not because of machine limitations, but because digitizing for embroidery is equal parts technical skill and artistic vision.
Embroidery digitizing bridges the gap between digital art and physical thread. It requires understanding how stitches interact with fabric, how colors blend when layered, and how to translate two-dimensional designs into textured reality. Whether you’re personalizing gifts or running a commercial embroidery business, mastering the art of digitizing for embroidery opens new creative possibilities that go beyond basic stitching.
The Dual Nature of Digitizing
The Science Behind the Stitches
Technical considerations include:
Stitch types and their physical properties
Thread tension dynamics
Fabric stretch and stability
Machine mechanics and limitations
The Artistic Elements
Creative aspects involve:
Color selection and blending
Texture creation through stitch patterns
Visual hierarchy in complex designs
Emotional impact of stitch direction
Essential Digitizing Tools
Software Options
| Tool Type | Best For | Examples |
|---|---|---|
| Professional | Commercial work | Wilcom, Pulse |
| Hobbyist | Home embroiderers | Hatch, Embrilliance |
| Free | Beginners | Ink/Stitch |
Hardware Considerations
Computer Specifications – RAM and graphics requirements
Graphics Tablets – For precise stitch placement
Monitors – Color-accurate displays
The Digitizing Process
Step 1: Artwork Preparation
Simplify complex vector paths
Establish clear color separations
Adjust for size limitations
Step 2: Stitch Planning
Map stitch directions to fabric grain
Balance density across elements
Sequence colors efficiently
Step 3: Underlay Engineering
| Underlay Type | Purpose | Best For |
|---|---|---|
| Edge Run | Stabilization | All designs |
| Zig Zag | Stretch control | Knits |
| Center Walk | Anchor large fills | Heavy fabrics |
Advanced Techniques
Creating Texture
Satin Stitch Variations – Change angles for visual interest
Fill Pattern Blending – Combine densities
Stitch Direction Effects – Simulate materials
Dimension and Depth
Layered stitching for shadows
Density gradients for highlights
Foam underlay for 3D effects
Common Challenges
Problem: Puckering Fabric
Solutions:
Reduce overall density
Use cutaway stabilizer
Adjust pull compensation
Problem: Thread Breaks
Solutions:
Smooth sharp angle transitions
Increase stitch length
Check needle condition
Problem: Blurry Details
Solutions:
Simplify small elements
Use satin stitches instead of fills
Add contrast underlay
Testing and Refinement
Quality Control Steps
Digital Simulation – Check stitch paths
Scrap Fabric Test – Verify tension
Final Product Run – Assess visual impact
Iterative Improvement
Document changes
Compare versions
Build a reference library
Professional Workflows
Commercial Digitizing
Client consultation
Technical specifications sheet
Multiple test runs
Final approval process
Production Considerations
Machine time optimization
Thread consumption calculations
Hoop efficiency strategies
The Future of Digitizing
Emerging Technologies
AI-assisted path optimization
Augmented reality previews
Automated density adjustment
Sustainable Practices
Thread waste reduction
Energy-efficient processing
Eco-friendly material adaptations
Conclusion
Mastering embroidery digitizing means embracing both its technical and creative sides. The perfect digitized file balances stitch physics with artistic vision, resulting in embroidery that looks as good in thread as it did on screen.
Remember these key principles:
✔ Every fabric behaves differently—digitize accordingly
✔ Testing prevents expensive mistakes
✔ Simple designs often stitch best
✔ Continuous learning improves results
Your journey to stitch perfection starts with the next design you digitize. Apply these techniques, be patient with the process, and watch your embroidery skills reach new levels.
Ready to begin? Pick a simple design and focus on perfecting one element at a time. The quality difference will inspire you to keep learning.
Need professional results fast? Many digitizing services offer quick turnaround while you develop your skills. The embroidery community welcomes creators at every level.